
Have you ever taken a picture and thought to yourself, "Man, this picture would be the bee's knees if I could just blur the background!"? Well, you're not alone. Turns out there are quite a few people who would like to learn how to make their pictures look like a pro's, so we've put together this short tutorial so you, too can be an expert!
Blurring During Pre-production:
- Use a wide angle lens (if you have one) and change your camera to Aperture Mode. This allows you more freedom with your camera’s settings.
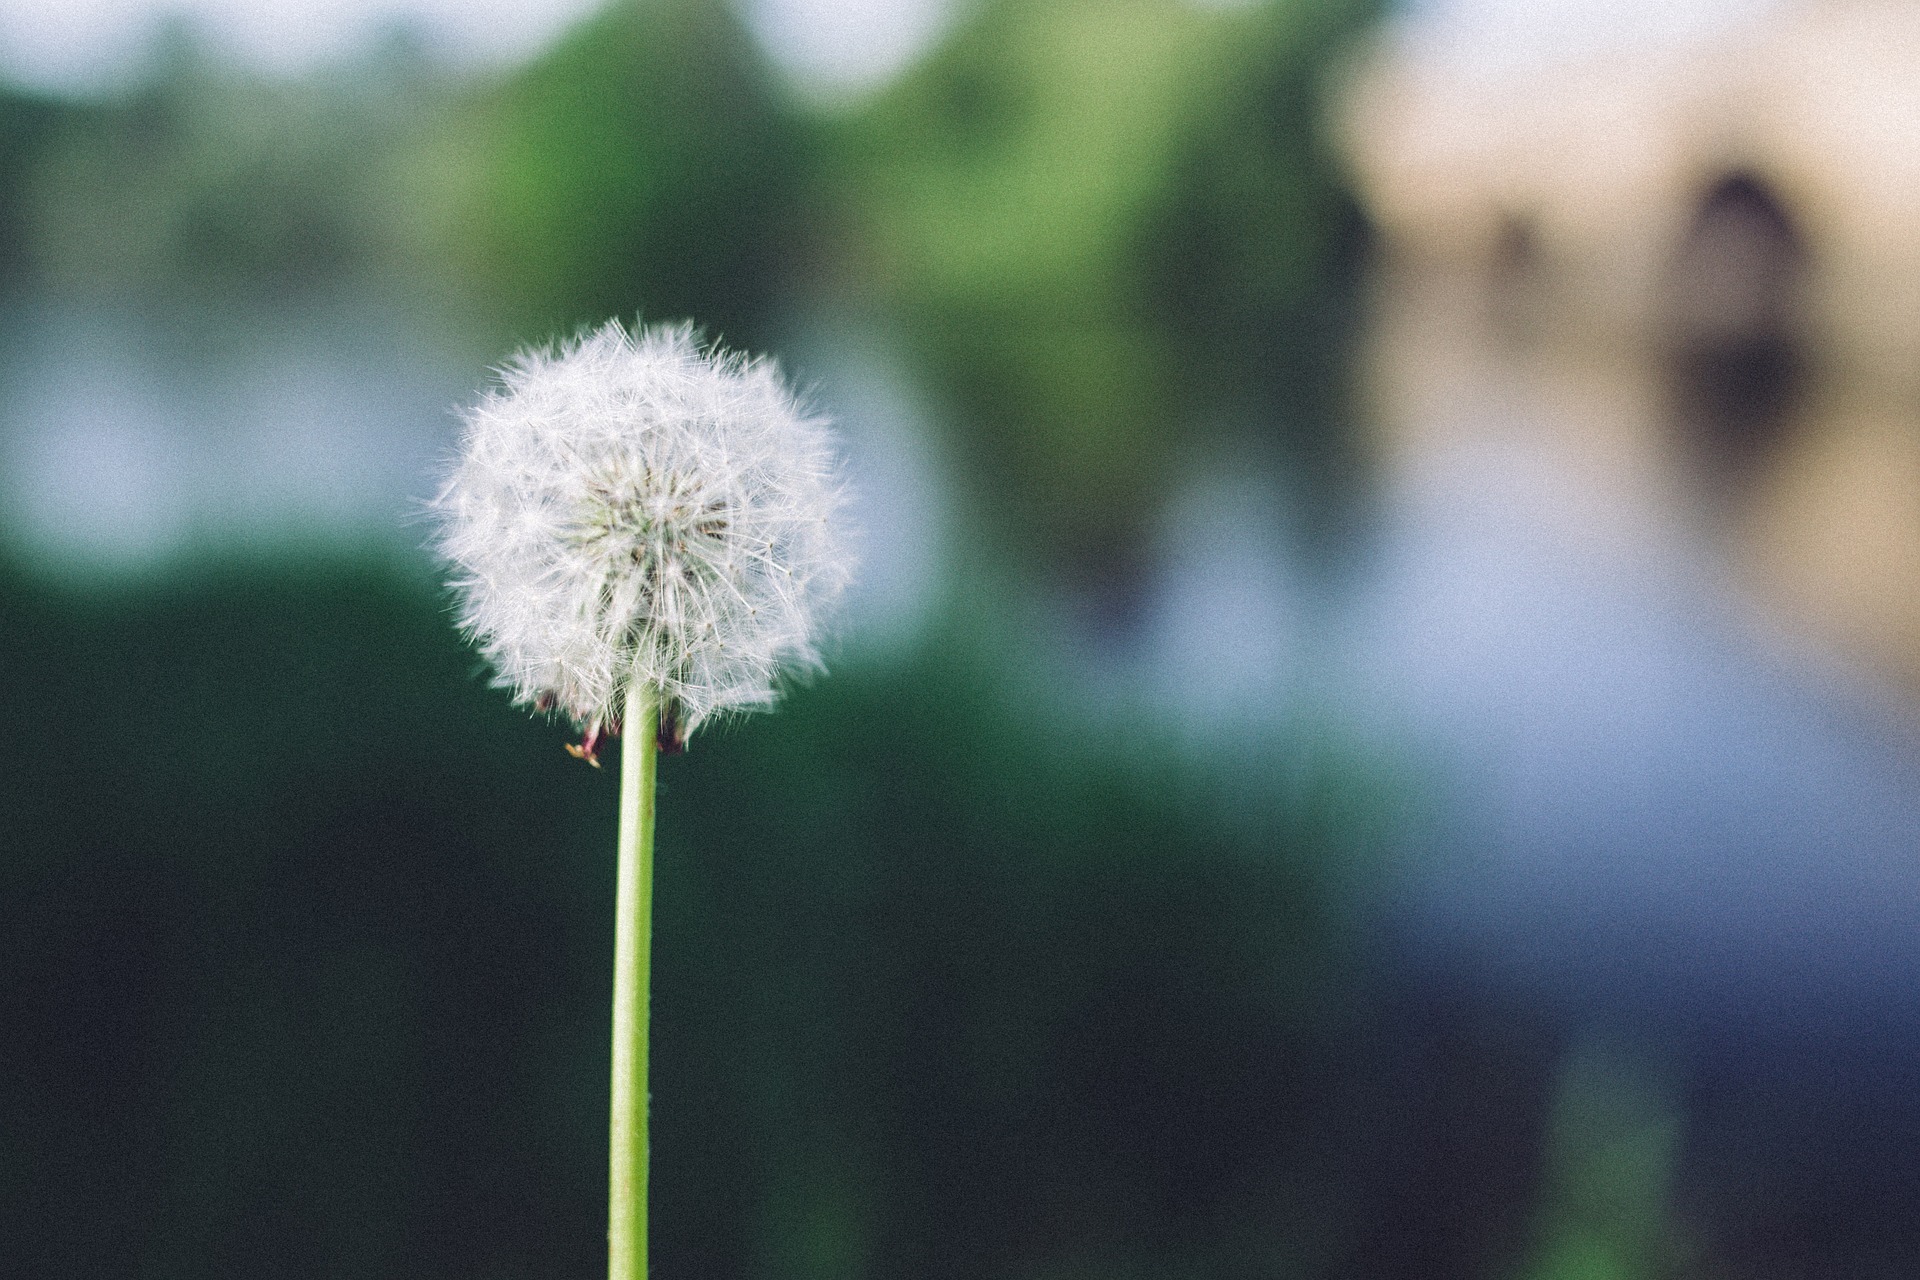
- The key to creating a blurry background is distance between you, your subject(s), and the background. You’ll want to play around with this a lot and see what you like.
- Zoom in your lens and stand back from your subject(s).
- You’ll want to use the smallest f-number possible. Smaller f-number equals bigger aperture, so if this is something you’ll be using a lot it’ll make sense to invest in a wide angle lens like this one for Canon cameras.
- Play around with your distance; the most important is the distance between the subject and the background/backdrop. Keep your subject(s) fairly close to you and increase the distance between them and the background for a more pronounced effect.
- Don’t forget to change your camera back to the setting you had it on!
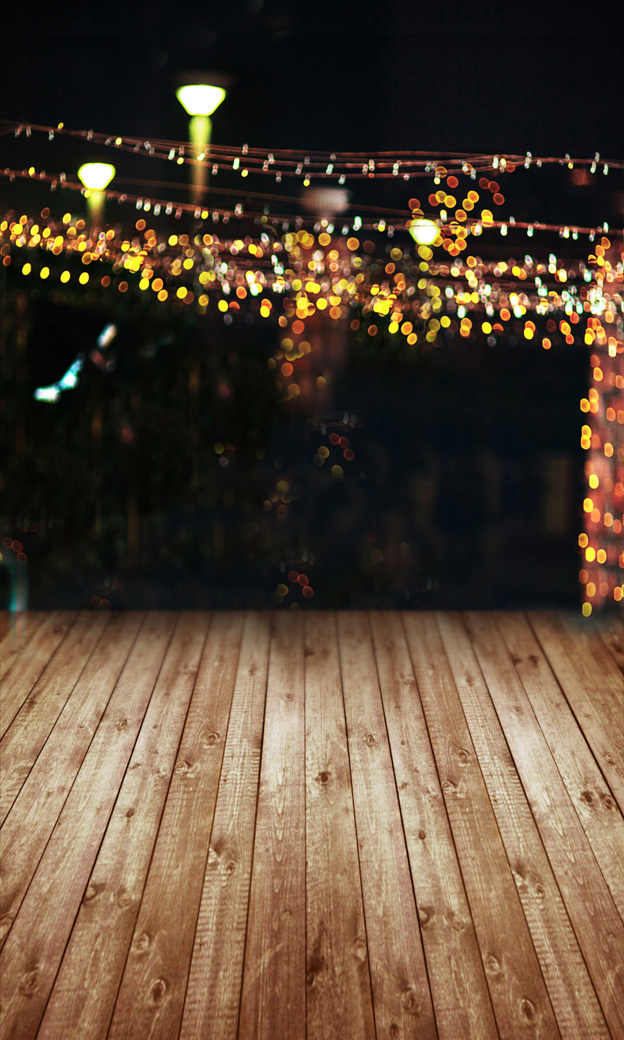
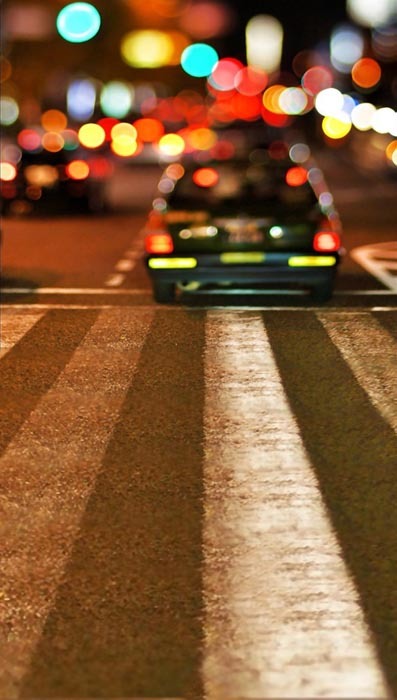
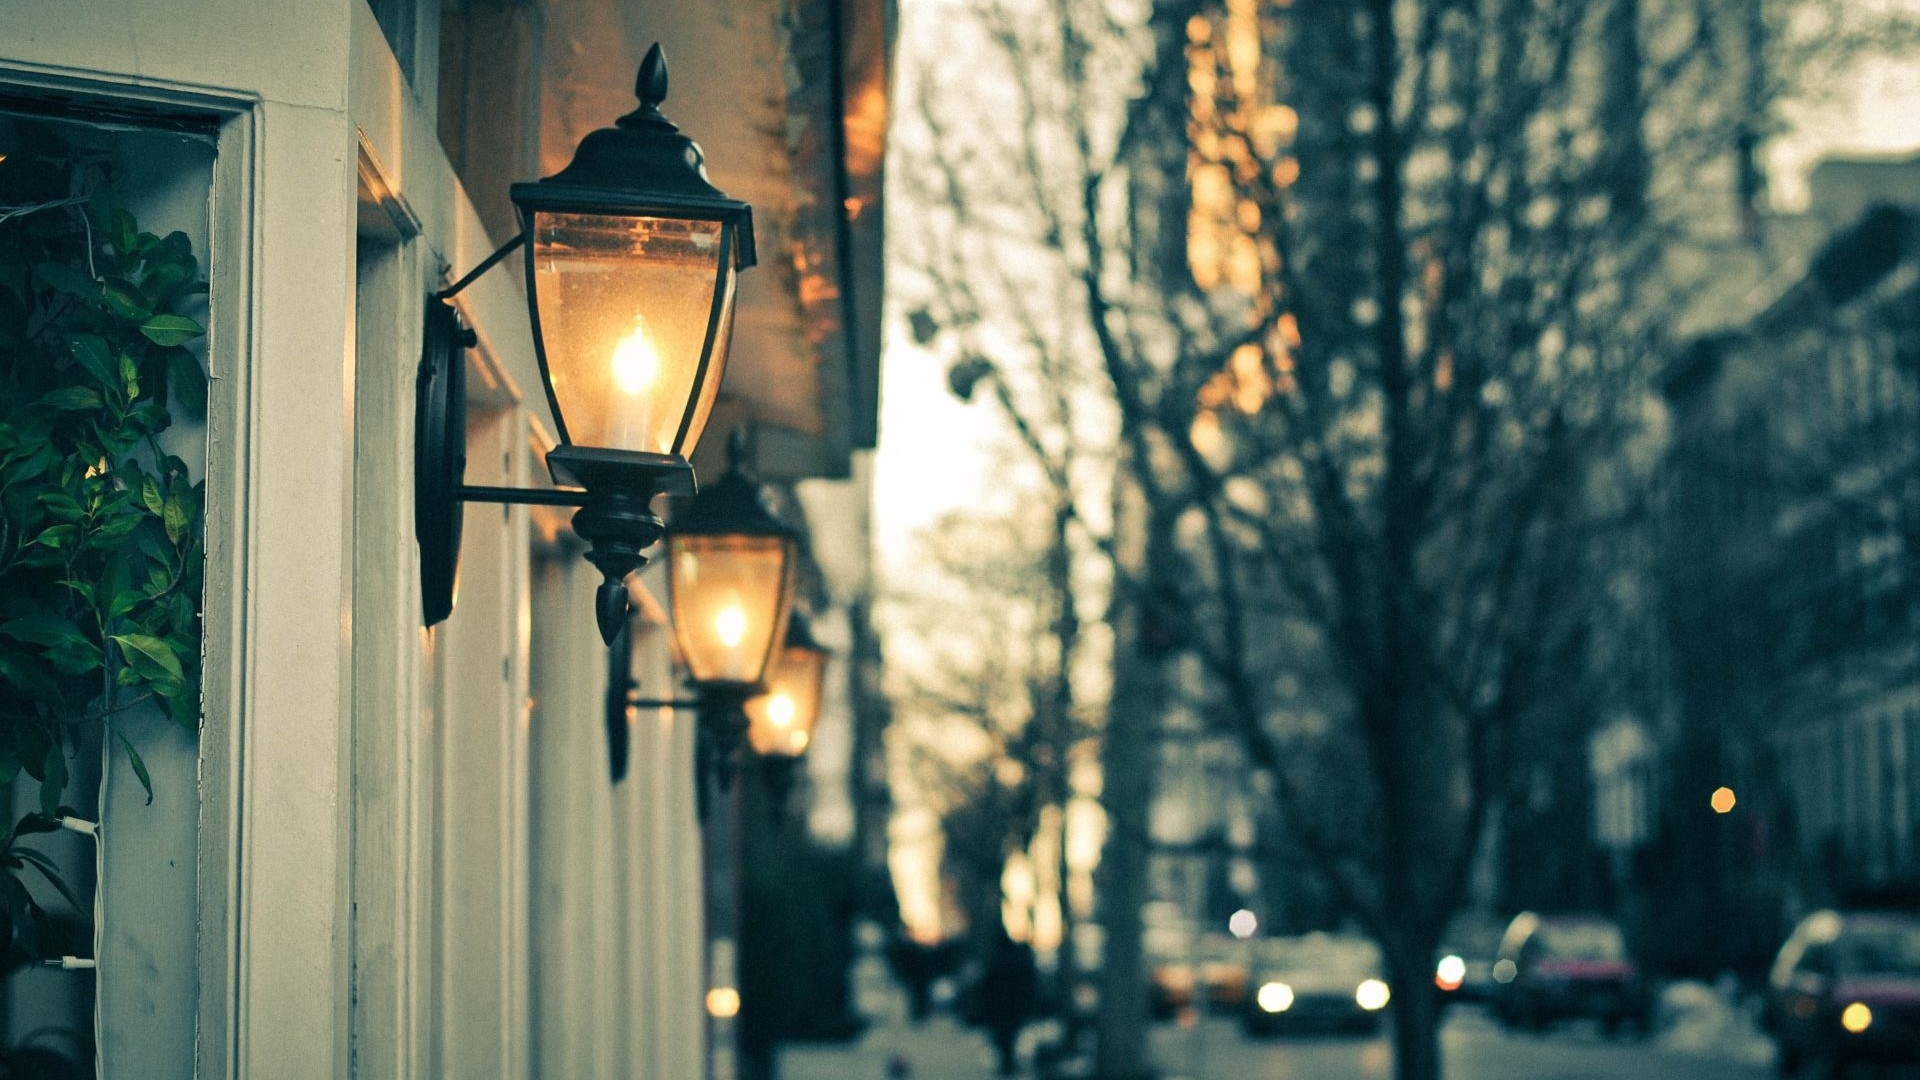
Easily Achieving Depth of Field with a Backdrop
Our Bokeh category has many great choices for getting that blurred effect in your photos without all the technical jargon. Point and shoot; it's as easy as that! Any of the backdrops on our site can easily be blurred upon request as well. However many professionals recommend blurring manually with their camera or in post-production. Here are some of our best seller bokeh backdrops:


Post-production Blur
(assuming we’re in Photoshop):
- If you really want to get deep into it, separate your subject(s) from the background and edit each one.
- When blurring backgrounds, it’s going to come down to what looks natural and best to your eye. If you really want to emphasize the subject, the whole background can be blurred the same amount. If you’re looking for a little bit more authenticity, you can blur what’s furthest away more and gradually lessen the blur as you get closest. For a gradual blur, the Blur tool (whoa!) will be your best friend. You can choose size, hardness, different brush styles, etc. If you’d like to give the blur a uniform look, isolate your subject(s) from your background. Working on your background layer, select Filter>Blur then choose from some of the options. Gaussian Blur or Lens Blur both work well.
In this post, we primarily focused on taking pictures with a professional camera. For mobile users, the easiest way to optimize your photography-on-mobile skills is to play around with the settings on your phone and look for forum posts on your phone manufacturer's website. Apple's update on the iPhone 7 helps tremendously with depth of field settings. There are also plenty of apps on the Play Store and App Store, both free and paid.
That's all for this round of Photo Pie blog time, tune in next time for more exciting information!